The Vital Signs Report displays a list of patients with or without a documented vital sign.
Run the Vital Signs Report
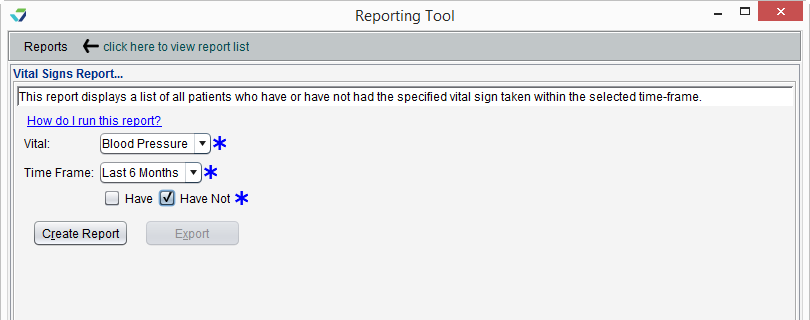
- From the Reporting Tool, go to Reports > Vital Signs Report
- Select a Vital sign
- Select a Time Frame
- Select Have or Have Not to determine which patient population to include on the report
- Click Create Report
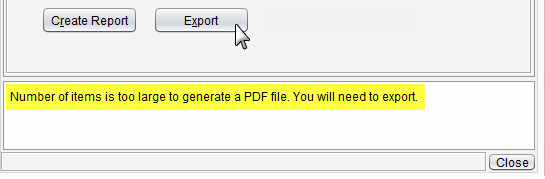
Note
Reports with an extensive amount of data are unable to be generated as a PDF and will require the user to export the report to view the data.
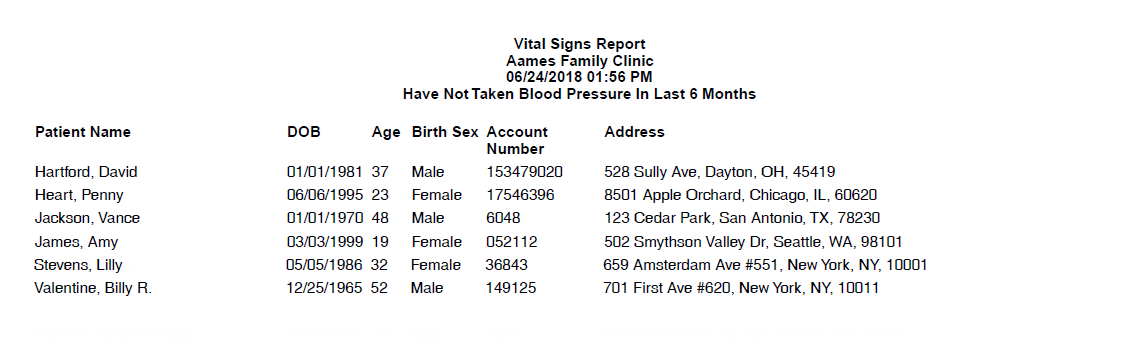
Report Display
The Vital Signs report will display the Patient Name and patient demographic data.
Export Report Data
Generated report data can be exported and saved outside of Sevocity to a destination selected by the user, such as a network drive or local machine.
- From the report, click Export
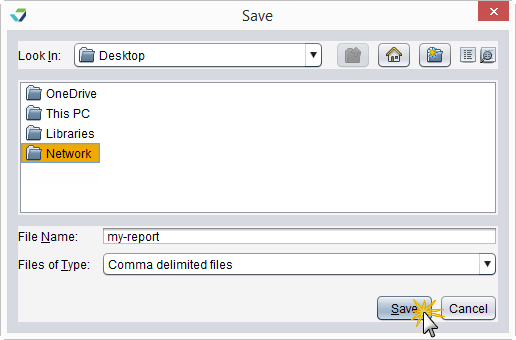
- Select a location to save the file and type a File Name
- Click Save
The data will be saved as a comma delimited file (.csv)
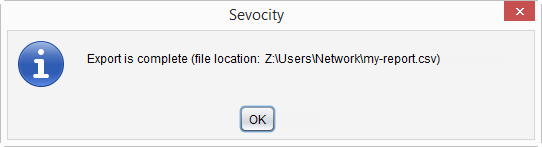
Click OK to acknowledge the export is complete
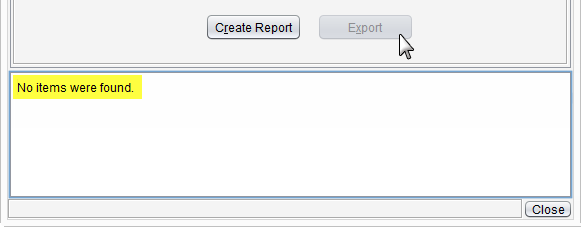
Why is the Export Button Disabled?
The Export button becomes enabled only if there is data in the generated report.