
The Attachments tab is used to attach files to an encounter. When using a Reconciliation encounter for a C‑CDA reconciliation, the C‑CDA file is automatically added to the Attachments tab. A C‑CDA reconciliation can be performed from the Direct Message Inbox or by using the C‑CDA Reconciliation Tool in Chart Tools or the Tools Menu.
Encounter Types
Attachments is available in the following encounter types: Exam, Multi-System, Procedure, Reconciliation, and Urgent Care.
Tip
Files related to a patient exam or procedure should be attached in the Images subtab of the Physical Exam or Procedure tab.
Attach a File
- Go to Encounter > Attachments
- Click Import
Locate and select the file from the local computer and click Open
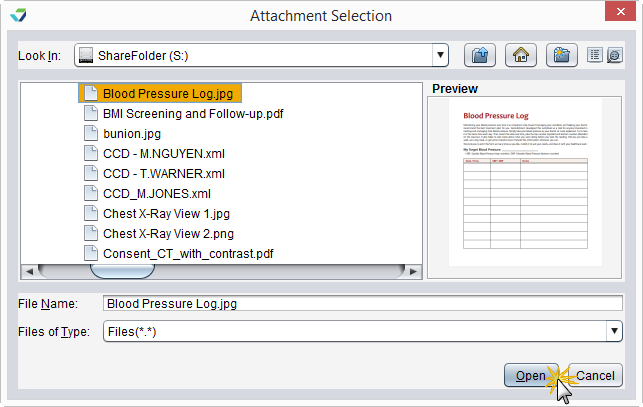
- Optional: Repeat the process to attach more files
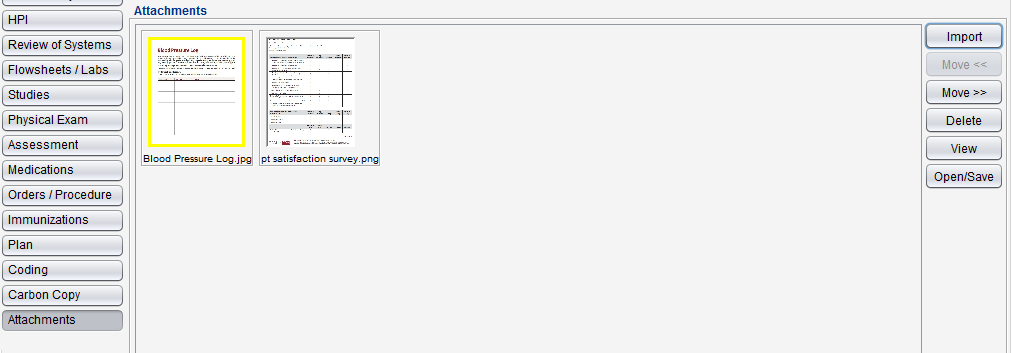
View an Attachment
 Select a file and click View
Only image file types (e.g., .png, .jpg) can be viewed within Sevocity. Use Open/Save to view other file types
Delete an Attachment
 Select a file and click Delete, then click Yes to confirm decision to delete
Open or Save an Attachment
 Select a file and click Open/Save. The file will open in the default program for the file type and can be viewed or saved to the local computer or network drive
Organize Attachments
 Select a file and click Move << to move the file one place to the left
 Select a file and click Move >> to move the file one place to the right