The PHI Export Report displays a list of PHI exports performed by a user.
Run the PHI Export Report
- From the Reporting Tool, go to Reports > PHI Export
- Select a User or leave defaulted to All users
- Populate Date From and Date To fields to specify the date range for the PHI export
- Click Create Report

Note
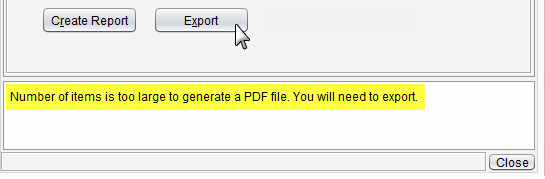
Reports with an extensive amount of data are unable to be generated as a PDF and will require the user to export the report to view the data.
Report Display
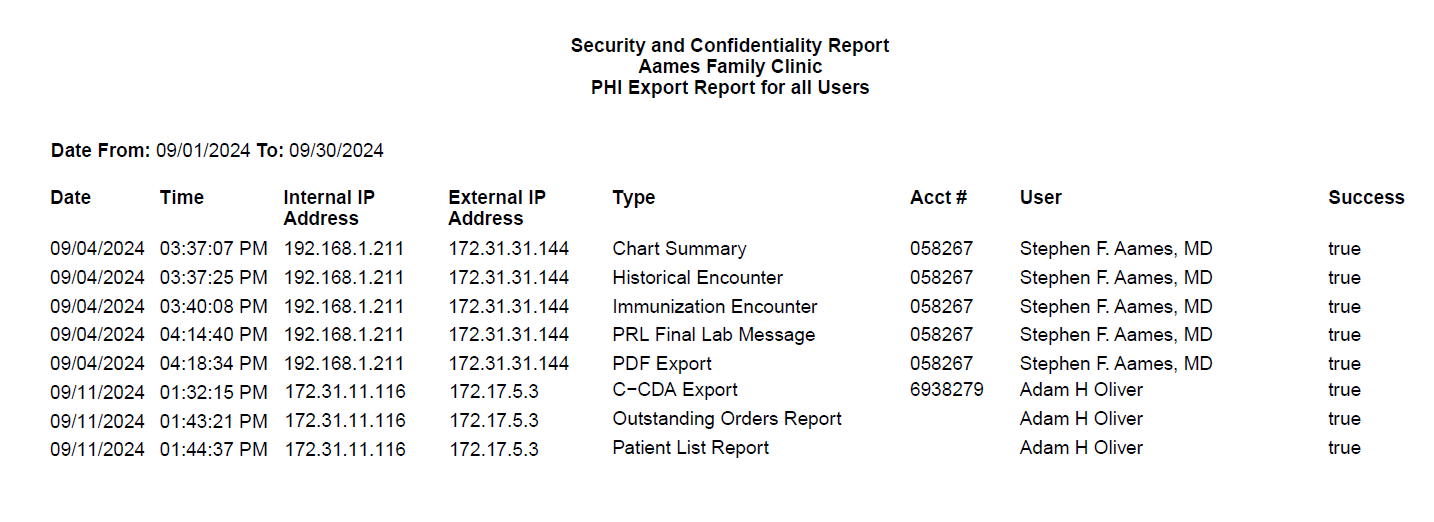
The PHI Export report will display the User who performed the export, Date and Time of the export, Type of export, Internal IP Address and External IP Address of the computer the export was performed on, patient Acct # (when applicable), and Success of the export.
Export Report Data
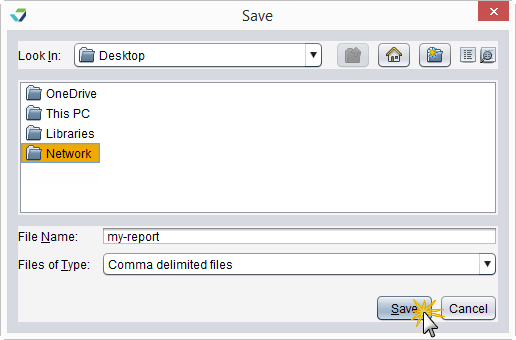
Generated report data can be exported and saved outside of Sevocity to a destination selected by the user, such as a network drive or local machine.
- From the report, click Export
- Select a location to save the file and type a File Name
- Click Save
The data will be saved as a comma delimited file (.csv)
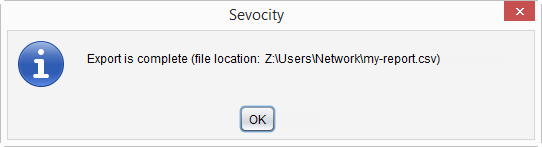
Click OK to acknowledge the export is complete
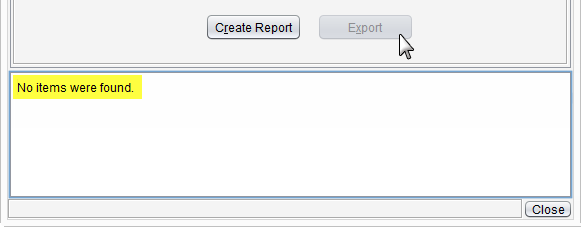
Why is the Export Button Disabled?
The Export button becomes enabled only if there is data in the generated report.