
After a Sevocity user account is created, the account can be edited, inactivated, and activated. If Sevocity user accounts are set to be locked after the set number of failed log in attempts have been reached, the user account must be unlocked to restore access.
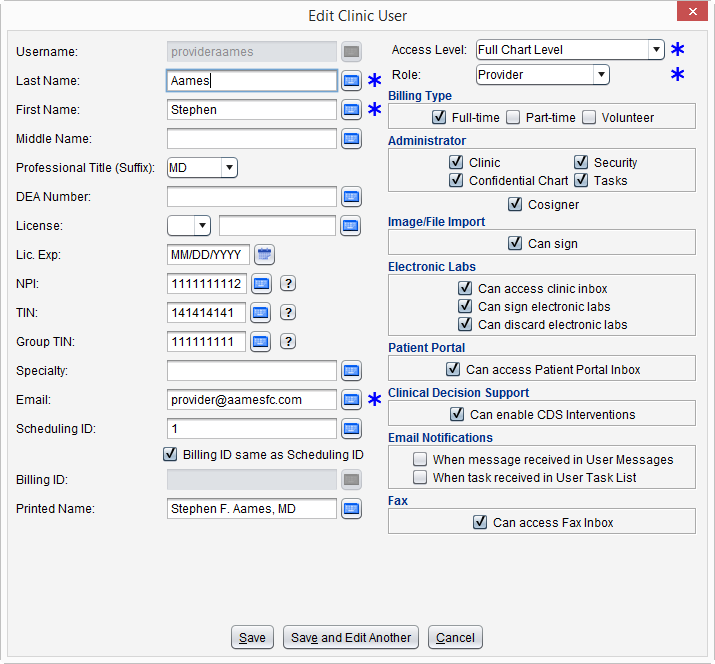
Edit a User Account
- Go to Tools > Security Administration > Edit User
- Select a user
- Click OK
- Update or make changes to any necessary fields
- Username cannot be updated
- An Access Level of Full Chart cannot be added by the Security Administrator. Contact Sevocity Support for assistance with adding Full Chart access for a user
- Click Save to save the changes made or Save and Edit Another to save the changes made and edit another user account
Inactivate a User Account
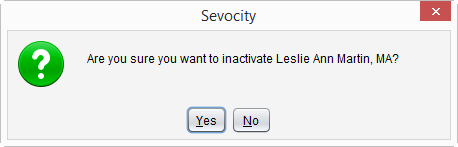
- Go to Tools > Security Administration > Inactivate User
- Select a user
- Click OK
- Click Yes to confirm account inactivation
Activate a User Account
- Go to Tools > Security Administration > Activate User
- Select a user
- Only inactive users will display
Click OK
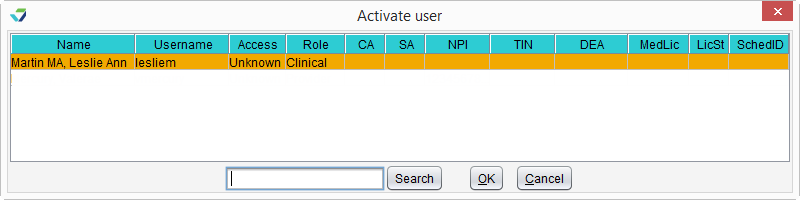
- Click Yes to confirm account activation
Unlock a User Account
- Go to Tools > Security Administration > Unlock User Account
- Type the user name in the User ID field
- Enter the Internal IP Address and External IP Address obtained from the user’s Sevocity login screen
- The internal and external IP addresses can be viewed by clicking
 on the user’s Sevocity login screen
- The internal and external IP addresses can be viewed by clicking
Click Unlock User’s Account
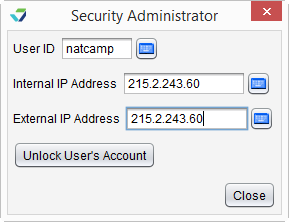
- Click OK to acknowledge the user account has been unlocked