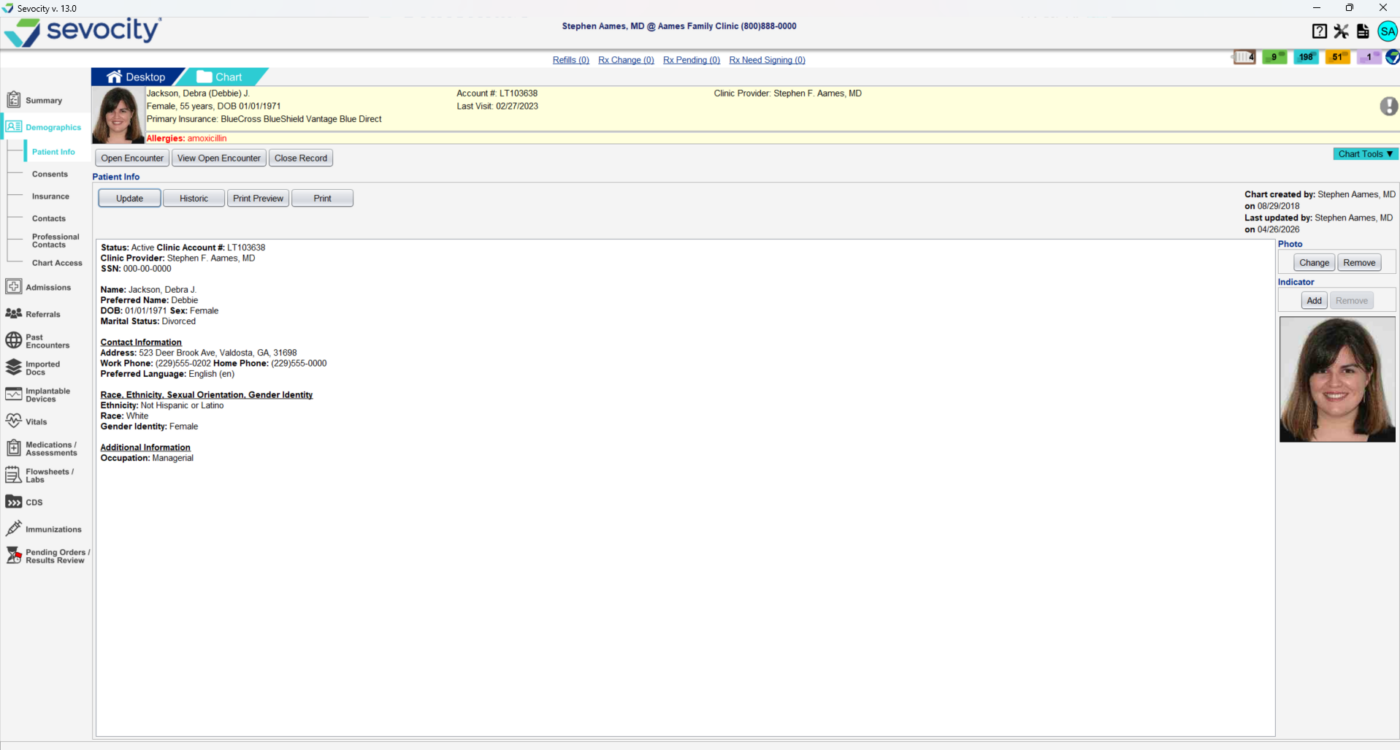
The Patient Info tab records and displays patient demographic information in five tabs: Patient, Additional Info, Related Person, Pregnancy, and Notes. The Pregnancy tab displays for patients with a Birth Sex of female.
Configuration
Selection list items for Occupation, Education, and Religion on the Patient tab and Hospital of Delivery on the Pregnancy tab can be customized. Clinic Administrators can edit the list items by going to Tools > Preferences > CLINIC > Clinic Wide Form Data > Begin Edit and selecting Demographics from the Tab list
Selection list options for Race, Ethnicity, and Preferred Language on the Patient tab can be set by the Clinic Administrator in Clinic Settings: General
Tribal Affiliation demographics on the Additional Info tab can be enabled by the Clinic Administrator in Clinic Settings: General
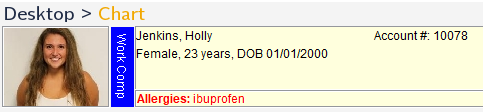
The Patient Info summary displays the information entered in the Patient Info tabs, the patient Photo, and patient header Indicators.
Add a Patient Photo From a Stored Image
Go to Chart > Demographics > Patient Info
Click Add in the Photo section
Locate and select the file from the local computer and click Open
Only .jpg, .jpeg, .gif. and .png file types are accepted
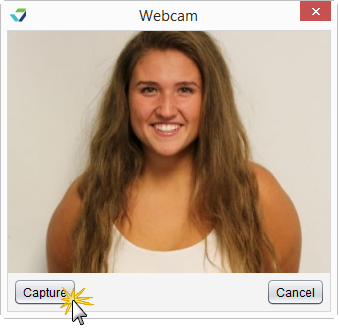
Add a Patient Photo Using a Webcam (Windows OS Only)
Go to Chart > Demographics > Patient Info
Click in the Photo section
Click Capture
Indicators
Indicators allows users to apply a color indicator to the patient header. A chart can only display one indicator at a time.
Add an Indicator
Go to Chart > Demographics > Patient Info
Click Add in the Indicator section
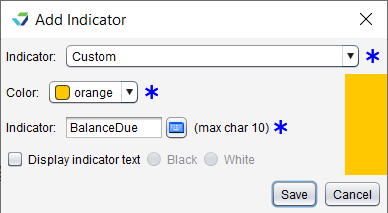
From the Indicator list, select an existing indicator or select Custom
If creating a custom indicator:
Select the indicator Color
Type a description for the Indicator
Optional: select Display indicator text and the text color (Black or White)
Note: custom indicators are not saved for future use
Click Save
Update an Indicator
Go to Chart > Demographics > Patient Info
Click Change in the Indicator section
Select a new indicator from the list or click Custom
If creating a custom indicator:
Select the indicator Color
Type a description for the Indicator
Optional: select Display indicator text and the text color (Black or White)
Note: custom indicators are not saved for future use
Click Save
Remove an Indicator
Go to Chart > Demographics > Patient Info
Click Remove in the Indicator section
A message will display to verify the user would like to clear the indicator. Click Yes
Add or Update Patient Information
The Patient tab captures patient information such as account number, Clinic Provider, contact information, marital status, race, ethnicity, and preferred language.
Go to Chart > Demographics > Patient Info
Click Update
Add or update the necessary information
Account Number can only be edited by a user with Clinic Administrator privileges
Selecting Deceased from the Status field enables the Date of Death field
Selecting Exempt from Reporting excludes a patient from all Sevocity reports
Click Save
Note
Clinics with a demographic interface from a practice management (PM) system should only update patient information fields that are not mapped as part of the interface. Changes made to mapped fields in Sevocity will be overwritten by the PM interface.
Add or Update Additional Information
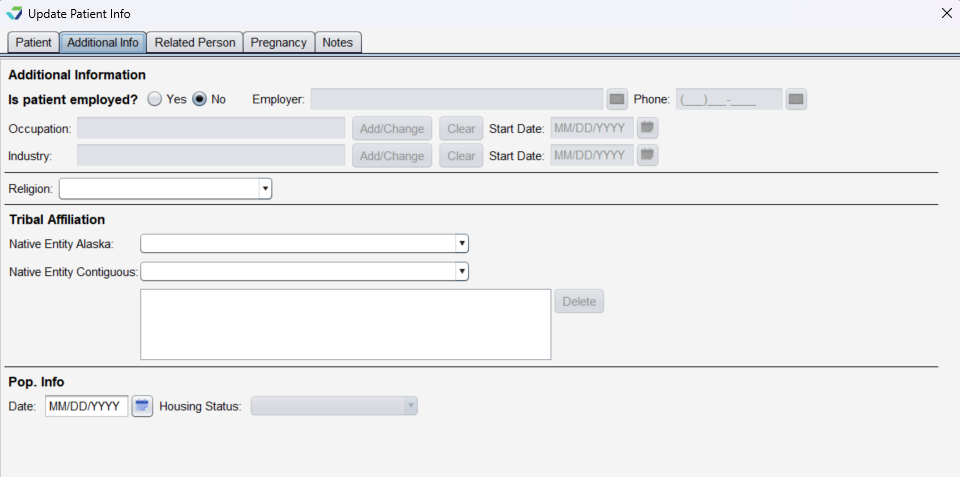
The Additional Info tab captures patient information such as education, tribal affiliation, and housing status.
Go to Chart > Demographics > Patient Info
Click Update
Click the Additional Info tab
Add or update the necessary information
Click Save
Add or Update Related Person Information
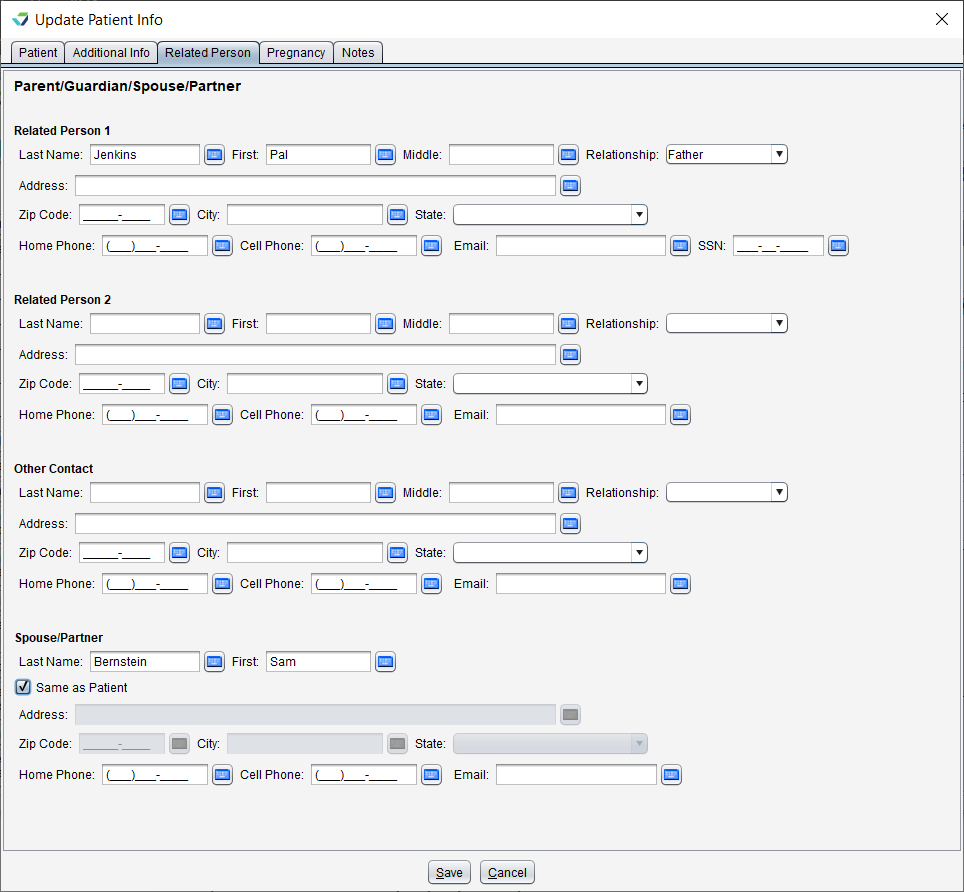
The Related Person tab captures contact information for persons related to the patient, such as spouse, guardians, or other family members.
Go to Chart > Demographics > Patient Info
Click Update
Click the Related Person tab
Add or update the necessary information
Click Save
Add or Update Pregnancy Information
Go to Chart > Demographics > Patient Info
Click Update
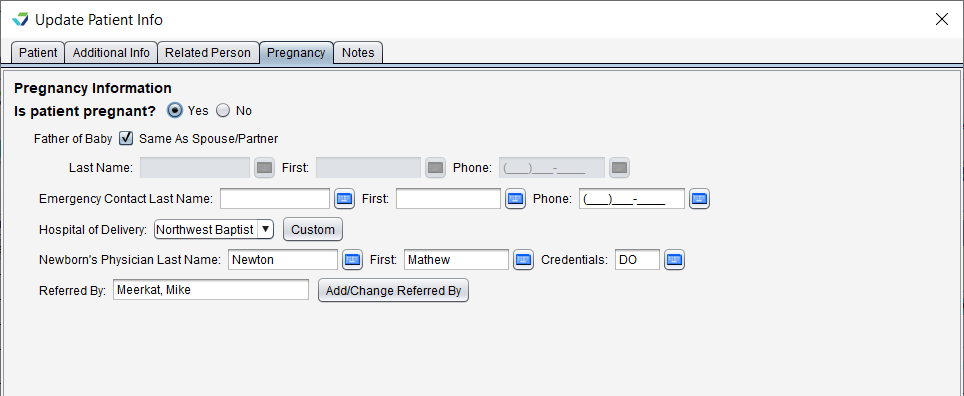
Click the Pregnancy tab. Is patient pregnant? defaults to No
Click Yes if the patient is pregnant
Optional: Add or update the necessary information
Select the Same As Spouse/Partner checkbox to populate the Spouse/Partner information entered in the Related Person tab as the Father of Baby on the Patient Info summary
Click Add/Change Referred By to add the referring provider from the patient’s Professional Contacts, contacts from the User and Clinic Contact Lists, or from a Custom entry
Click Save
Notes Tab
Notes is a free text field. Type any related information in this field and click Save
Historic Button
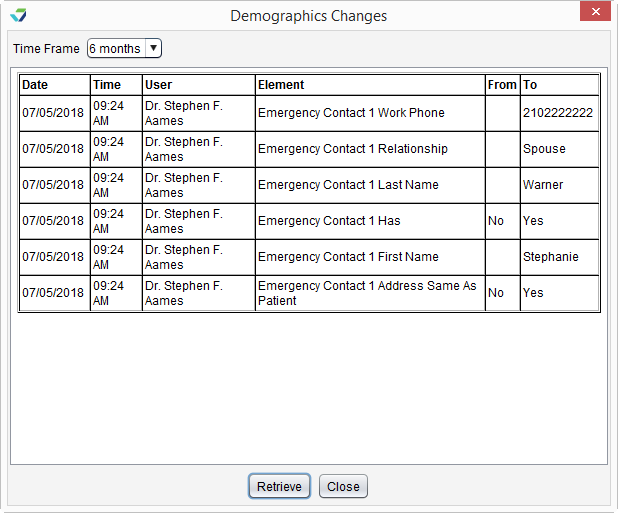
The Historic button displays an audit trail of user activity in the Demographics subtabs. To view changes made to patient demographics:
Click Historic from the subtab
Select a Time Frame for the changes
Click Retrieve
The results display the Date and Time the change was made, the User who made the change, the data Element that was changed, the original value of the element (From), and what the element was changed To.