Imported Documents
The Imported Documents tab is used to add documents and images to the patient chart. Documents can be imported from a user's local computer or scanned and stored to the patient chart. DICOM![]() Digital Imaging and Communications in Medicine, a technical standard used in the exhange of medical images and associated data links stored to the chart using the Link DICOM Image tool can also be viewed from the Imported Documents tab.
Digital Imaging and Communications in Medicine, a technical standard used in the exhange of medical images and associated data links stored to the chart using the Link DICOM Image tool can also be viewed from the Imported Documents tab.
Documents and images can also be added to the patient chart from the Tools Menu.
To sign and add notes to imported documents a user must have Can sign selected in their user profile
- Selection items for the Add Note Add From Favorites list and the Route Message Add From Favorites list are customizable at the user and CLINIC level. Go to Tools > Preferences > CLINIC or [user] > Form Data > Begin Edit and select Image/File Import from the Tab list
- Selection list items for the Add from Favorites List for the Summary field can be customized by the Clinic Administrator by going to Tools > Preferences > CLINIC > Clinic Wide Form Data > Begin Edit and selecting Image Import from the Tab list
- A default Import folder or directory can be selected in Machine Specific settings
- Default Scan Workflow, Direct Scan Source, and Local Folder Scanning Path can be configured in Machine Specific settings or by clicking the gear icon (
 ) on the Scan button
- Go to Chart > Imported Documents
- Click Import
- Locate and select the file from the folder or directory and click Open
- Populate the following required fields:
- Type: select the category of the document being added
- Clinical Date: populate the date associated with the document
- Summary: type a description of the document or click Add from Favorites and select one or more items from the list
Optional: select a user from the Provider list to associate the user with the document
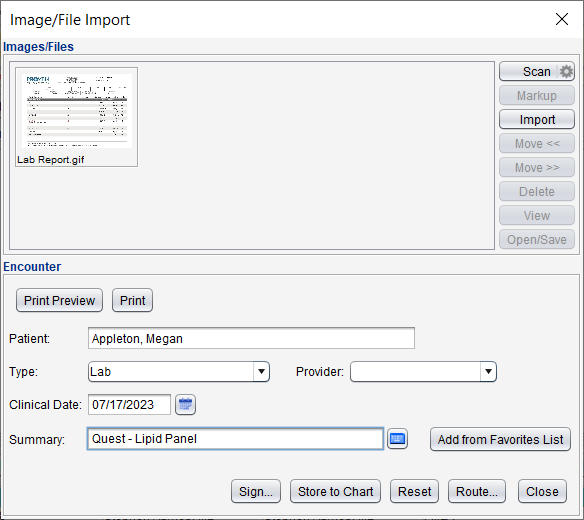
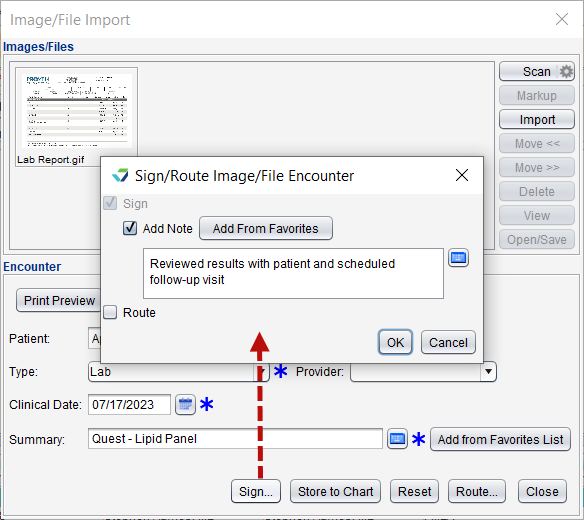
- Click Store to Chart or Sign
- If signing the document, click OK to sign and save to the patient's chart
Optional: click Add Note and type a note in the free text field or click Add from Favorites and select one or more items from the list
- Click Close to close the Image/File Import window or click Reset then click Import to add another document
Documents can be scanned directly into Sevocity or to a local folder. The preference for direct or local scanning is determined by the Default Scan Workflow selection.
- Go to Chart > Imported Documents
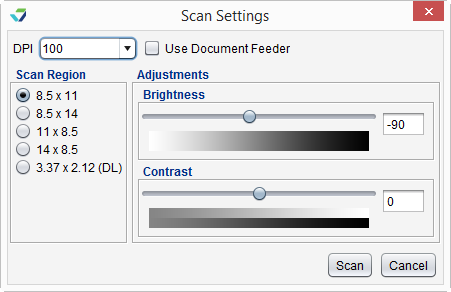
- Click Scan
Make any necessary adjustments to the Scan Settings for the image output and click Scan
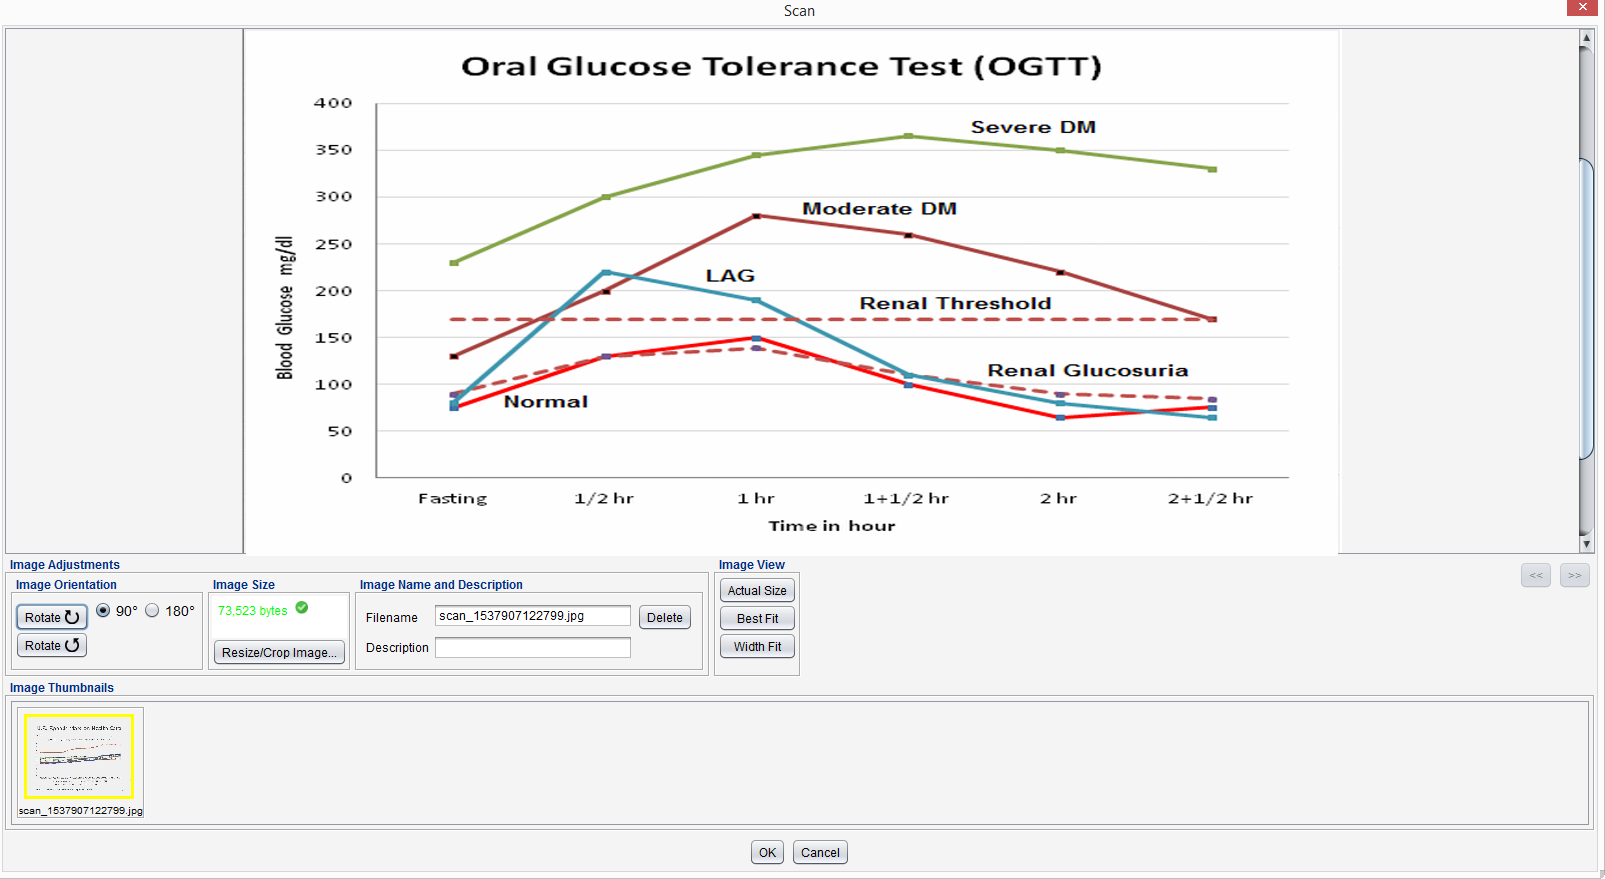
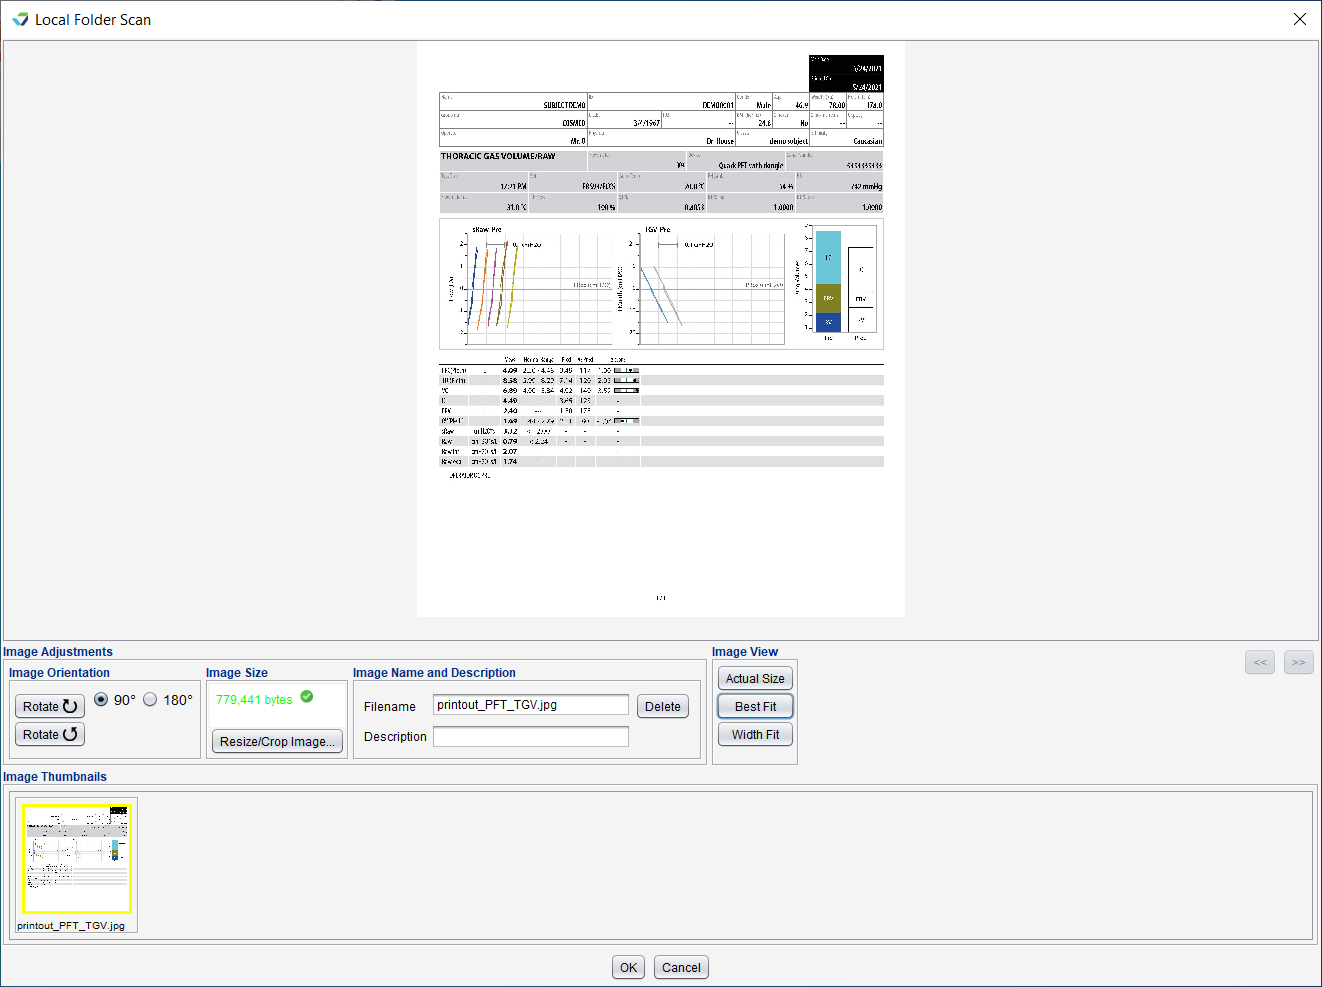
Make any necessary adjustments to the scanned image and click OK
- Populate the following required fields:
- Type: select the category of the document being added
- Clinical Date: populate the date associated with the document
- Summary: type a description of the document or click Add from Favorites and select one or more items from the list
- Optional: select a user from the Provider list to associate a user with the document
- Click Store to Chart or Sign
- If signing the document, click OK to sign and save to the patient's chart
- Optional: click Add Note and type a note in the free text field or click Add from Favorites and select one or more items from the list
- Click Close to close the Image/File Import window or click Reset then click Scan to add another document
Go to Chart > Imported Documents
Click Scan
Scan the document into the specified local folder
Make any necessary adjustments to the scanned image and click OK
Populate the following required fields:
Type: select the category of the document being added
Clinical Date: populate the date associated with the document
Summary: type a description of the document or click Add from Favorites and select one or more items from the list
Optional: select a user from the Provider list to associate a user with the document
Click Store to Chart or Sign
If signing the document, click OK to sign and save to the patient's chart
Optional: click Add Note and type a note in the free text field or click Add from Favorites and select one or more items from the list
Click Close to close the Image/File Import window or click Reset then click Scan to add another document
Scanned documents not saved to the patient chart will be deleted from the local folder.
Prior to saving an imported or scanned document to the patient chart, the file can be routed to another user in the clinic for review or to perform tasks related to the document.
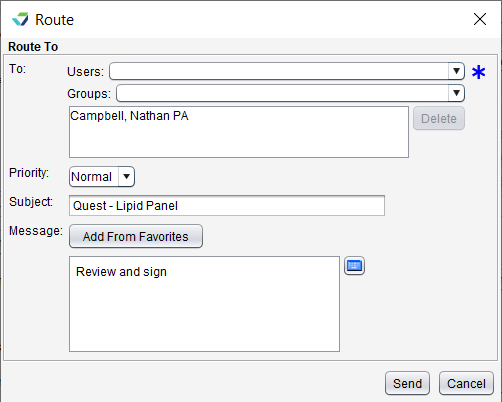
- From the Image/File import window, click Route
- Search for and select a user from the To list
- Multiple individual users, multiple groups, or a combination of users and groups can be selected
- Select a Priority for the message or leave defaulted to Normal
- Type a Message in the free text field or click Add from Favorites and select one or more items from the list
- Click Send
The routed file will be sent to the assigned user's Messages inbox.
Prior to saving an imported or scanned document to the patient chart, the files can be viewed, changed, and organized.
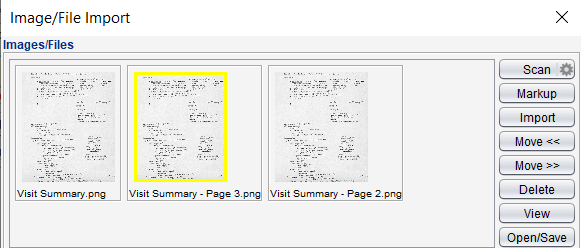
 Select a file and click View
Only image file types (e.g., .png, .jpg) can be viewed within Sevocity. Use Open/Save to view other file types
 Select a file and click Delete, then click Yes to confirm decision to delete
 Select a file and click Open/Save. The file will open in the default program for the file type and can be viewed or saved to the local computer or directory
- Select a file and click

- Use the drawing tools to annotate the image:
- Pencil: click
 , select a line width, and select a color from the palette to draw with the pencil tool
 - Shape: click
 , select a shape, and select a color from the palette to add shapes to the image
- Use the slider to make the shape larger or smaller
- Text: click
 , select a font size, select a font style, and select a color from the palette to add text to the image
 - Eraser: click
 and select a line width to erase any pencil lines or shapes on the image
- Pencil: click
- Click OK
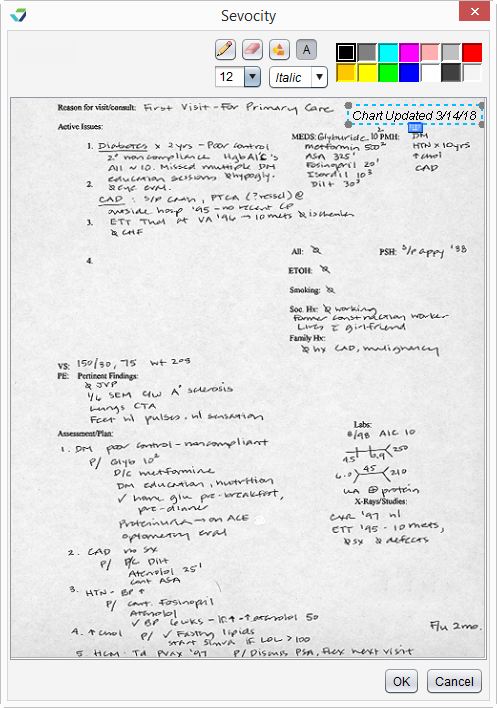
The Markup tool can only be used on image file types (e.g., .png, .jpg)
 Select a file and click Move << to move the file one place to the left
 Select a file and click Move >> to move the file one place to the right
Select an item from the documents list to view its contents. The Original Note details will display in the view pane, and attached files will display in the Images section
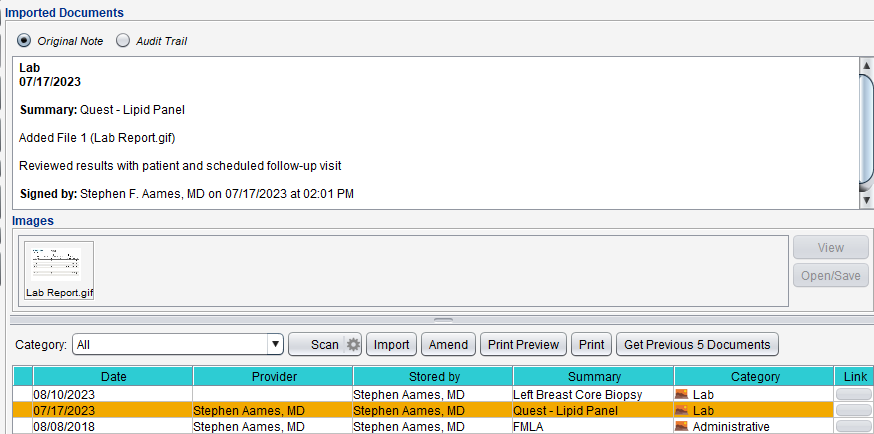
To view an attached image file, select the file and click View
To view an attached file that is not an image, select the file and click Open/Save
Click Get Previous 5 Documents to view more/older documents
To view a specific type of document, select the document type from the Category list

To view the audit trail for a document, click the Audit Trail radio button
Click Print Preview to view the document before printing, and click Print to print the document
By default, users can only amend the imported documents they saved to the chart. Users with Can Sign privileges can amend and sign imported documents saved by other users if the document has not been signed.
A red check mark icon will display next to any amended documents.
![]()
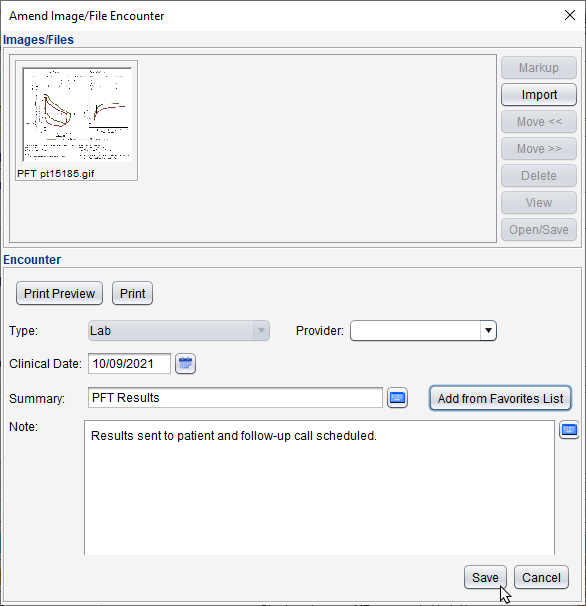
- Select an item from the documents list and click Amend
- The document Image/File, Provider, Clinical Date, Summary, and Note can be changed
- Click Save
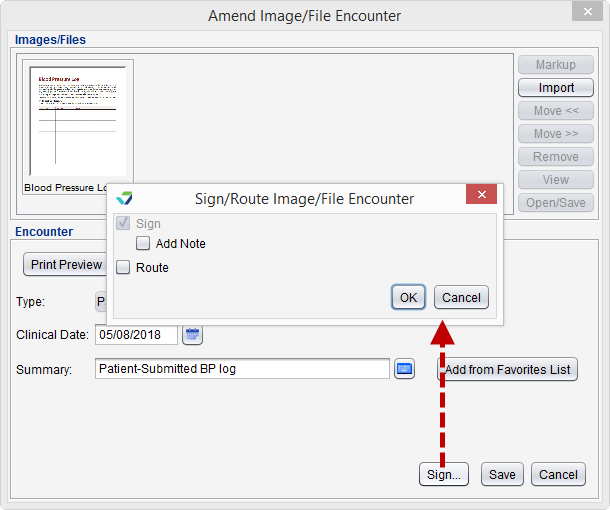
- Select an item from the documents list and click Amend/Sign
- Optional: make changes to the document Image/File, Provider, Clinical Date, or Summary
Click Save
or
Click Sign
Click OK to sign and save to the patient's chart
Optional: click Add Note and type a note in the free text field or click Add from Favorites and select one or more items from the list
Didn't find the answer you were looking for?
Contact Sevocity Support 24/7 at 877‑777‑2298 or support@sevocity.com