Patient List Detailed Report
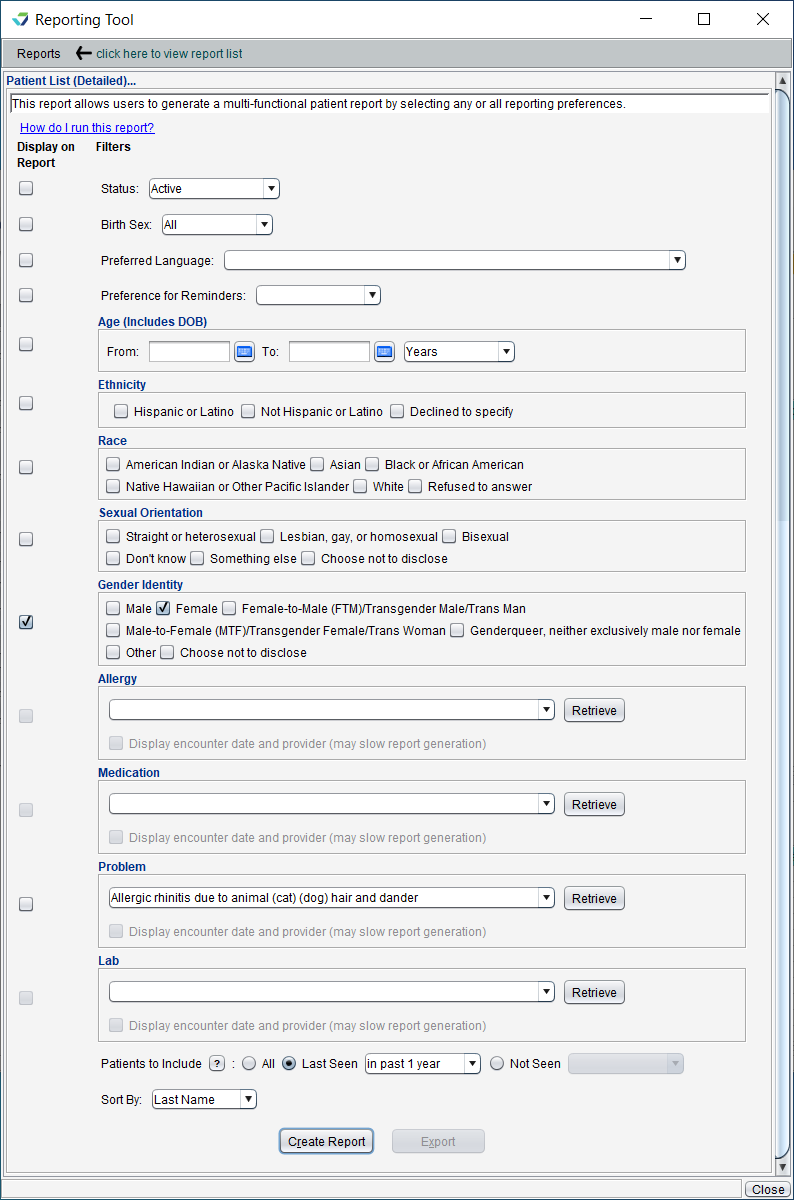
The Patient List (Detailed) Report displays a list of patients based on demographic and clinical data criteria.
- From the Reporting Tool, go to Reports > Patient List (Detailed)
- Select the patient data criteria from the Filters column to determine which patients to include in the report
- Patient Status and Birth Sex are the minimum required criteria for this report and default to Active and All, respectively
- Optional demographic criteria for this report are: Preferred Language, Preference for Reminders, Age, Ethnicity, Race, Sexual Orientation, and Gender Identity
- Optional clinical criteria for this report are: Allergy, Medication, Problem, and Lab
- For the Allergy, Medication, Problem, and Lab criteria, clicking Retrieve produces a selection list of all allergies, medications, problems, and lab result fields currently active for the clinic's patient population
- Only one item can be selected for each clinical criteria
- Select the Display on Report checkbox to display each criteria element in its own column on the report
- If no checkboxes are selected, the report will display only the First Name, Last Name, and Account # for the patients who meet the selected criteria
- Select Patients to include:
- All: displays all patients seen at the clinic
- Last Seen: displays patients last seen within the selected time frame
- Not Seen: displays patients not seen within the selected time frame
- Select a Sort By value for the report output:
- The Sort By selection list will display Acct#, Last Name, and Last Seen by default
- Additional sorting options will display for each Display on Report criteria selected
- Click Create Report
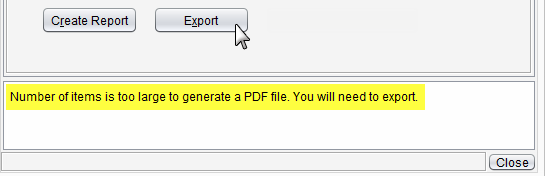
| Reports with an extensive amount of data are unable to be generated as a PDF and will require the user to export the report to view the data. | ||
 | ||
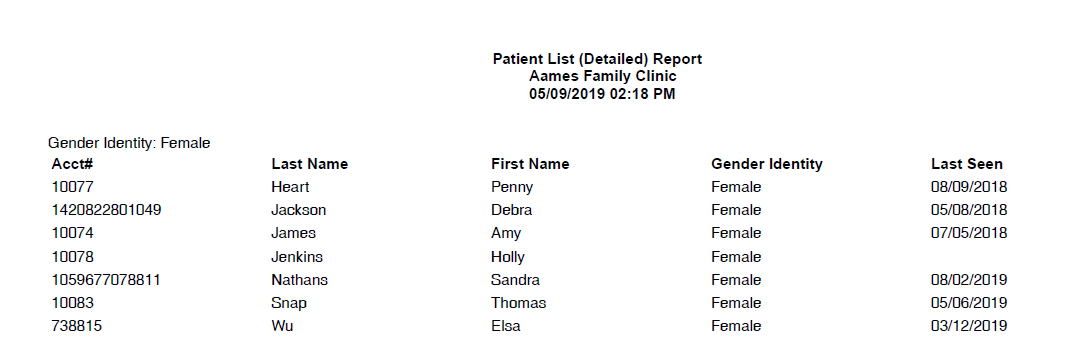
The Patient List (Detailed) report will display the First Name, Last Name, Account #, and Last Seen date for the patients who meet the selected criteria. Any criteria for which Display on Report was selected will also display on the report.
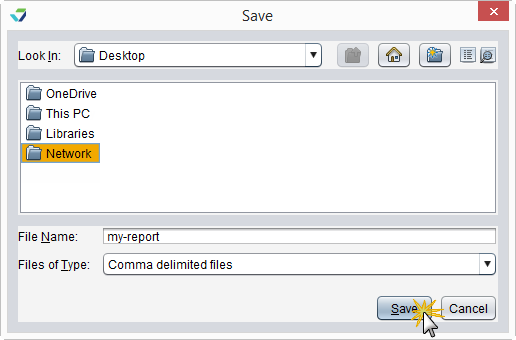
Generated report data can be exported and saved outside of Sevocity to a destination selected by the user, such as a network drive or local machine.
- From the report, click Export
- Select a location to save the file and type a File Name
- Click Save
The data will be saved as a comma delimited file (.csv)
Click OK to acknowledge the export is complete

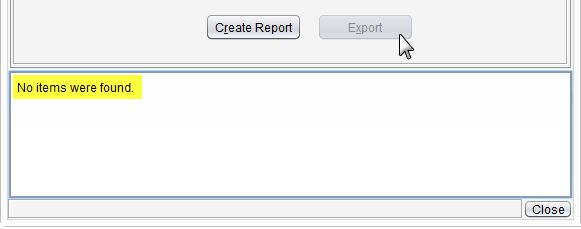
The Export button becomes enabled only if there is data in the generated report.
Didn't find the answer you were looking for?
Contact Sevocity Support 24/7 at 877‑777‑2298 or support@sevocity.com