Assessment Report
The Assessment Report displays a list of patients with a diagnosis during a specific date range.
- From the Reporting Tool, go to Reports > Assessments > Assessment
- Select a Location or leave defaulted to All locations
- Select a User or leave defaulted to All users
- Selecting a User filters the report to display assessment actions performed by that user
- Populate Date From and Date To fields to specify the date range for the assessment activity
- Optional: select one or more diagnosis codes from the Favorites list or click Search Master List to select from all ICD‑10 codes or select the All checkbox for Assessments to include all diagnosis codes
- Optional: select one or more Actions
- Selecting an Action filters the report to display only the selected assessment actions
- Click Create Report

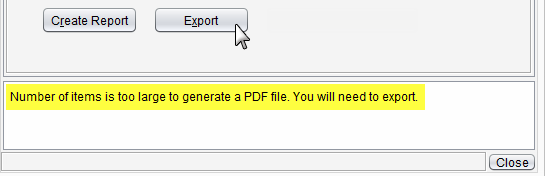
| Reports with an extensive amount of data are unable to be generated as a PDF and will require the user to export the report to view the data. | ||
 | ||
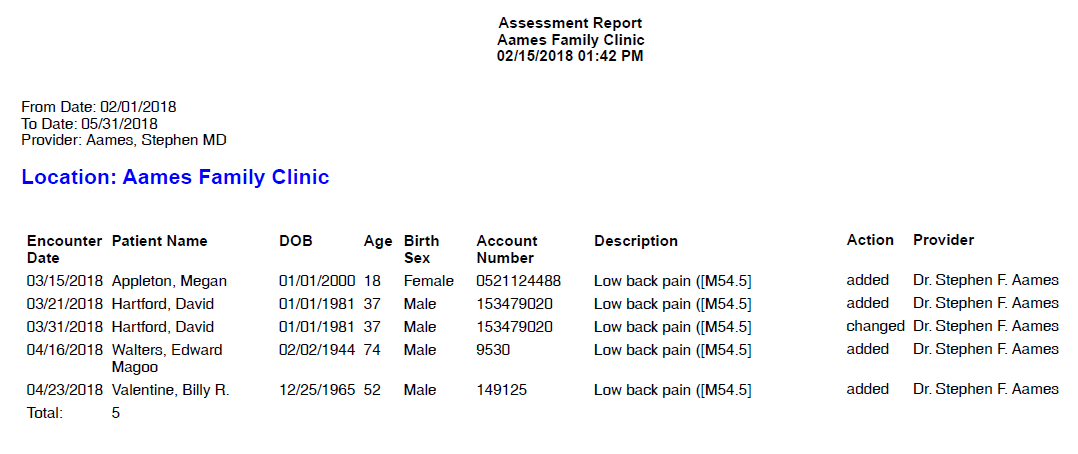
The Assessment report will display the Patient Name and patient demographic data, Encounter Date, diagnosis code Description detail, Action, and user (Provider).
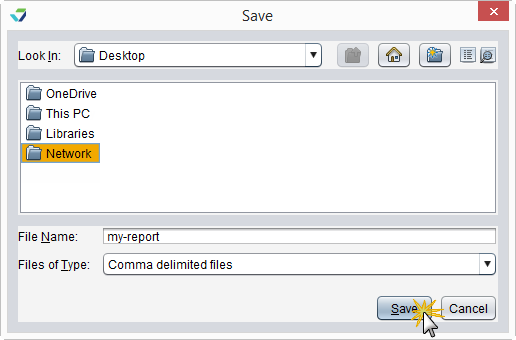
Generated report data can be exported and saved outside of Sevocity to a destination selected by the user, such as a network drive or local machine.
- From the report, click Export
- Select a location to save the file and type a File Name
- Click Save
The data will be saved as a comma delimited file (.csv)
Click OK to acknowledge the export is complete

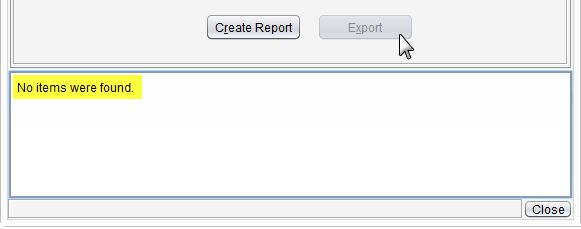
The Export button becomes enabled only if there is data in the generated report.
Didn't find the answer you were looking for?
Contact Sevocity Support 24/7 at 877‑777‑2298 or support@sevocity.com