Contacts
The Contacts tab records and displays Emergency and Alternate contacts for a patient.
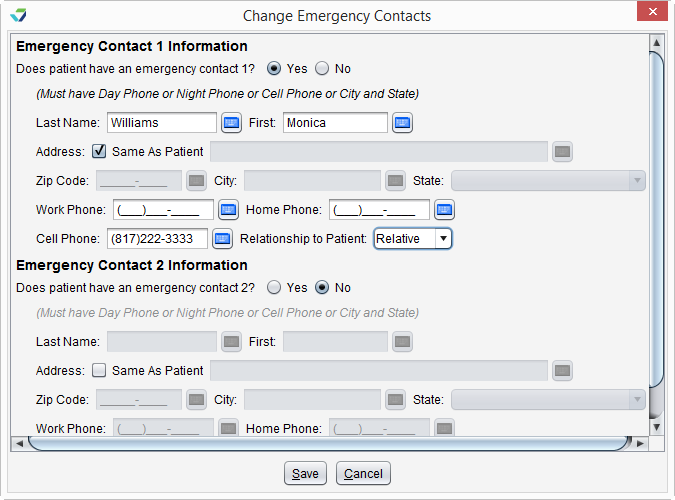
Patients can have up to two emergency contacts in their chart.
- Go to Chart > Demographics > Contacts > Emergency
- Click Update
- Select Yes for the question Does patient have an emergency contact 1?
- Type a Last Name and First name
- Address, Zip Code, City, and State are optional but should be populated if the information is available
- Select the Same As Patient checkbox if the contact's address is the same as the patient's
- Work Phone, Home Phone, Cell Phone, and Relationship to Patient are optional but should be populated if the information is available
- Click Save
- Go to Chart > Demographics > Contacts > Emergency
- Click Update
- Select No for the question Does patient have an emergency contact 1?
- Click Save
An alternate contact is a person to whom the patient has authorized the release of their PHI![]() Protected Health Information, any individually indentifiable health information. A signed release from the patient authorizing the alternate contact to have access to their PHI must be collected prior to creating a contact.
Protected Health Information, any individually indentifiable health information. A signed release from the patient authorizing the alternate contact to have access to their PHI must be collected prior to creating a contact.
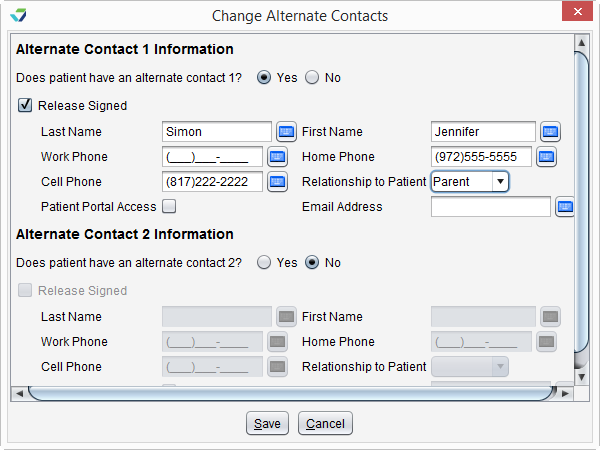
Patients can have up to two alternate contacts in their chart.
- Go to Chart > Demographics > Contacts > Alternate
- Click Update
- Select Yes for the question Does patient have an alternate contact 1?
- Select the Release Signed checkbox
- Type alternate contact Last Name and First Name
- Work Phone, Home Phone, Cell Phone, Relationship to Patient , and Email Address are optional but should be populated if the information is available
- Optional: Select Patient Portal Access checkbox
- Selecting this checkbox enables the alternate contact to be registered for a patient portal account
- Click Save
- Go to Chart > Demographics > Contacts > Alternate
- Click Update
- Select No for the question Does patient have an alternate contact 1?
- Click Save
The selection list for the Relationship to Patient field is customizable. Clinic Administrators can edit the list by going to Tools > Preferences > CLINIC > Clinic Wide Form Data > Begin Edit and selecting Demographics from the Tab list
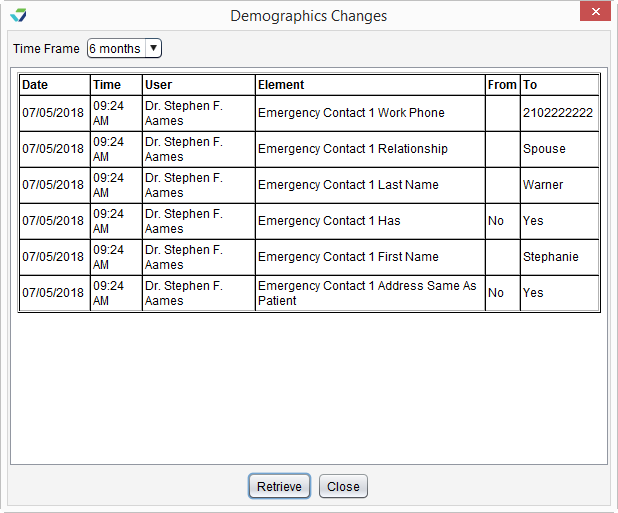
The Historic button displays an audit trail of user activity in the Demographics subtabs. To view changes made to patient demographics:
- Click Historic from the subtab
- Select a Time Frame for the changes
- Click Retrieve
The results display the Date and Time the change was made, the User who made the change, the data Element that was changed, the original value of the element (From), and what the element was changed To.
Didn't find the answer you were looking for?
Contact Sevocity Support 24/7 at 877‑777‑2298 or support@sevocity.com


